


⚡ TL;DR: Discover key steps for Ice and Water Shield Installation in Indianapolis, from selecting materials and prepping roofs to avoiding common pitfalls and ensuring winter protection.
📋 What You’ll Learn
Unlock Indy's top secrets for installing ice dam shields on roofs, safeguarding homes from brutal Hoosier winters, leaks, and ice damage with proven local techniques.
- Grasp why Indy roofs demand ice dam shields to combat heavy snow, freeze-thaw cycles, and prevent attic flooding in Indianapolis' unpredictable winter weather patterns.
- Select the best materials for Hoosier conditions including self-adhering membranes, peel-and-stick rolls, and durable underlayments tested against Indy's extreme temperature swings.
- Master pro prep and step-by-step installation from roof inspections, tool essentials, precise overlapping, to seamless eaves and valley applications for flawless protection.
- Avoid common Indy roofer pitfalls like poor adhesion, insufficient coverage, and overlooked flashing, plus real case studies from Carmel homes rescued in time.
📖 Reading time: 7 min
✍️ Author expertise: Indianapolis roofing pro with 20+ years of hands-on ice dam shield installs in Indy winters.
Indianapolis winters hit like a freight train, packing enough ice and fury to turn your roof into a ticking time bomb. One wrong move with ice dam shields, and you're staring at leaks that flood your attic, ruin insulation, and skyrocket repair bills.
But here's the kicker: most roofers botch the install, leaving Indy homeowners high and dry—literally—when the thaw hits.
We've cracked the code on bulletproof ice dam shield installation that stands up to Hoosier blizzards. Keep reading to grab the secrets that save roofs and sanity.
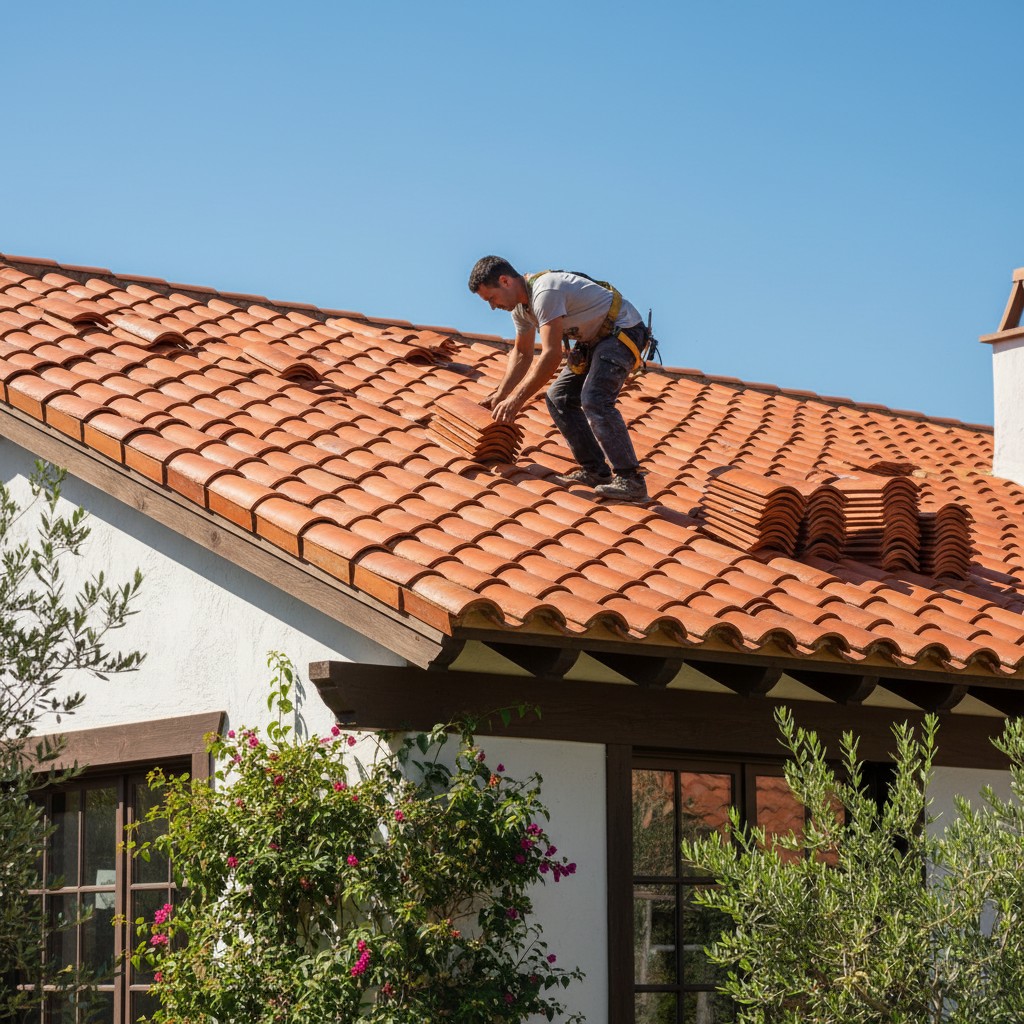
What Are Ice Dam Shields and Why Indy Roofs Need Them Now
Ice dam shields are tough, self-sticking membranes that act like a fortress under your shingles. They go right along the eaves, valleys, and anywhere water loves to pool during a freeze-thaw nightmare. Think of them as the last line of defense against ice dams sneaking water into your home.
Indy winters? Brutal. Snow piles up, melts from attic heat, refreezes at the edges into massive ice dams. That trapped water finds cracks, floods your attic, wrecks insulation, and hits your wallet hard with mold and rot.
Why now? Temps are dropping fast in Hoosierland. Skip this, and you're gambling with leaks come January. Install right, and your roof laughs off the worst blizzards.
- Peak protection where ice hits hardest: eaves and valleys.
- Blocks ice melt from lifting shingles and invading.
- Saves thousands in water damage claims every season.
Picking the Perfect Ice Dam Shield: Materials Built for Hoosier Winters
Hoosier winters chew up weak materials. You need ice dam shields that stick through freeze-thaw cycles and brutal Indy snow loads. Skip the cheap stuff; it peels off when you need it most.
Core Materials That Hold Up
Go for self-adhering rubberized asphalt membranes. These bad boys use SBS-modified asphalt for grip that laughs at ice buildup.
- Grace Ice & Water Shield: The gold standard, 30-mil thick, seals around nails like glue.
- Peel-and-stick alternatives like WinterGuard: Cheaper but still tough, with split-back release for easy handling in cold air.
- Metal valley shields: Pair them with membranes for eaves and valleys where water pools deepest.
Thickness matters. Grab at least 30 mils for basic protection; bump to 60 mils in high-risk spots like low slopes under 4:12 pitch.
Cold-weather rated? Essential. Look for products that install down to 0°F without cracking. Test it: your roof will thank you next January.
Prep Like a Pro: Essential Tools and Roof Checks Before Install
Skip prep, and your ice dam shield install turns into a nightmare. One overlooked crack or wrong tool spells disaster when Indy's freeze-thaw cycles kick in. Get this right, and you're set for a smooth job that lasts.
Gear Up with These Must-Have Tools
- Utility knife with fresh blades – slices peel-and-stick shields clean every time.
- Heavy-duty roofing hammer or pneumatic nailer for secure fastening without tears.
- Chalk line and measuring tape to nail straight edges on sloped Indy roofs.
- Heat gun or torch for stubborn spots in cold weather – but watch the flames.
- Ladders, safety harness, and non-slip boots. Indy roofs get slick fast.
Double-check your roof first. Look for loose shingles, rotted decking, or valleys prone to ice buildup. Clean gutters and test drainage – standing water invites trouble.
Quick Roof Inspection Checklist
- Scan eaves and overhangs for damage from last winter's snow loads.
- Probe under shingles for soft spots signaling water intrusion.
- Verify flashing around chimneys and vents is tight and rust-free.
- Clear debris from valleys where ice dams love to form.
Spot issues? Fix them now. A solid base means your shield sticks and seals like glue through Hoosier storms.
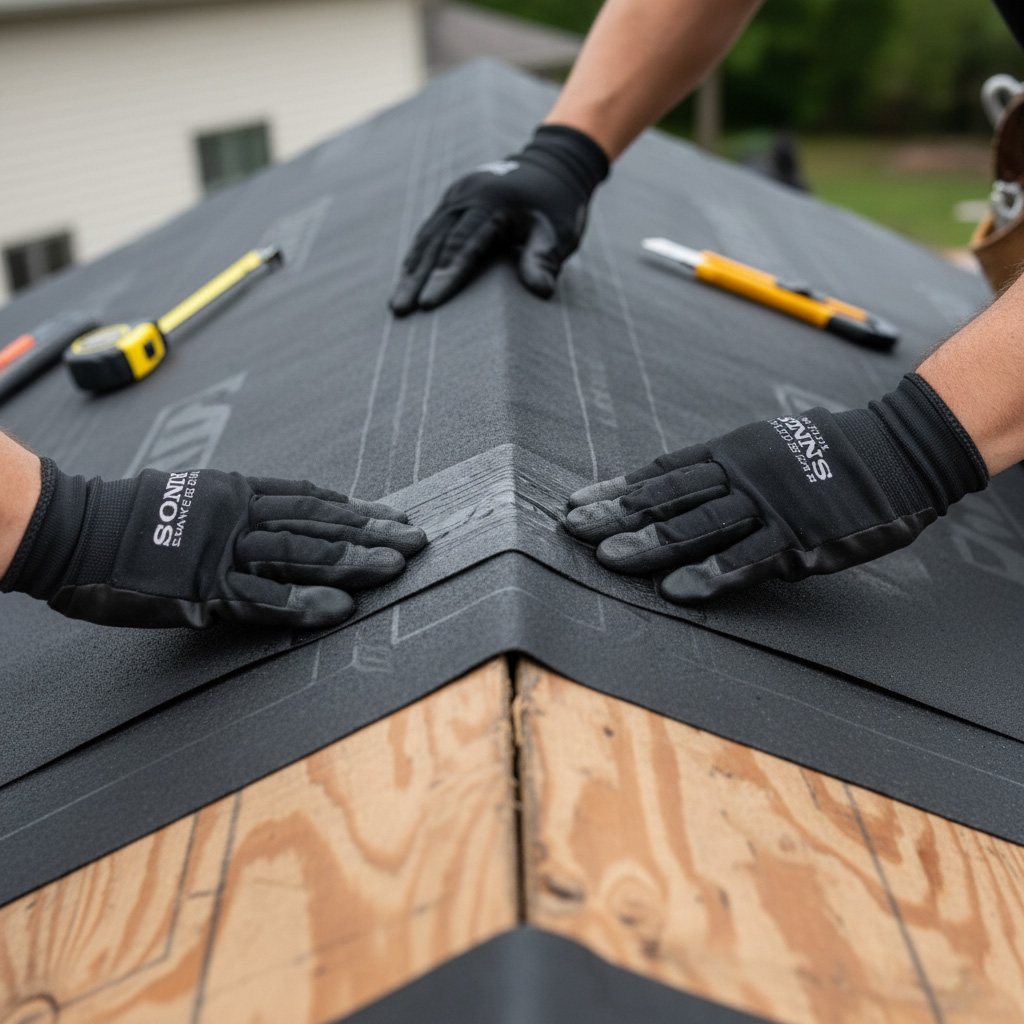
Step-by-Step Mastery: Flawless Ice Dam Shield Installation Techniques
Start at the eaves edge. Roll out the shield, letting it hang 1 to 2 inches over the gutter lip. This catches melting ice before it sneaks back under your shingles.
Work up the roof in straight runs, overlapping each new layer by at least 6 inches. Press it down firm with a hand roller, no wrinkles allowed. Air pockets are leak magnets.
Key Moves for Bulletproof Coverage
- Hit the valleys hard. Run full-width shield up the valley center, then overlap sides by 12 inches minimum. This seals the water highways.
- Wrap all penetrations. Cut and fold the shield around chimneys, vents, and pipes like gift wrap. No gaps, ever.
- Integrate with flashing. Layer step flashing over the shield edges, nailing through both into the deck. Test pull strength right there.
Finish by double-checking overlaps under bright light. Torch-test a small seam if you're pro-level; heat seals it forever. Your roof now laughs at blizzards.

Top Mistakes Indy Roofers Make (And How to Dodge Them)
Indy roofers screw up ice dam shields all the time. One slip, and water sneaks under your shingles like a thief in the night. Spot these blunders before they wreck your roof.
Skipping the Deck Inspection
Too many crews slap shields on damp or dirty decks. Moisture trapped underneath bubbles the material come spring.
- Scrub the roof deck bone-dry first.
- Check for rot or loose boards. Fix 'em now.
- Use a moisture meter to confirm it's good to go.
Botched Overlaps and Seams
Half-assed overlaps let ice push water right through. No sealant? Forget it, leaks guaranteed.
Layer shields like fish scales: 6 inches minimum overlap. Torch down edges tight, no gaps.
Wrong Placement Zones
Cheaping out on coverage dooms the whole job. Shields belong over eaves, valleys, and penetrations – at least 3 feet inside walls.
- Extend 24-36 inches from exterior walls.
- Double up in valleys for extra bite.
- Mark your zones with chalk before cutting.
Case Study: Rescuing a Carmel Home from Catastrophic Ice Dam Failure
Picture this: a spacious Carmel colonial, built in 1998, sat under a foot of snow after a brutal January storm. Homeowners noticed water stains creeping down the living room ceiling. Turns out, poor ice dam shield placement let ice back up and punch through the shingles.
Disaster details? Meltwater pooled behind the dam, seeped under the old peel-and-stick shield that wasn't extended far enough into the valleys. Attic insulation soaked up gallons. Mold started brewing fast.
The Fix That Saved It
- Ripped off the failed shield completely—no shortcuts.
- Inspected sheathing for rot; patched two soft spots with marine-grade plywood.
- Applied high-temp ice and water shield from eaves to 36 inches up, plus full valley coverage out to 3 feet on each side.
- Used cap nails every 12 inches for a grip that laughs at wind gusts.
Two weeks post-install, a 50-degree thaw hit hard. Not a drop inside. The family hosted their first worry-free Super Bowl party that year.
Key takeaway? Proper overlap and full-coverage zones turn potential floods into non-events. This Carmel roof's now rated for 20 more Hoosier winters.
Final Words: Shield Your Roof and Sleep Easy This Winter
Indy roofs take a beating every winter. Skip the ice dam shield gamble. Get it right the first time, or brace for water damage that hits your wallet hard.
Armed with these install secrets, you're ahead of 90% of homeowners. Pro tip: Pair this with proper ice and water shield installation for total roof armor.
Quick Action Checklist
- Inspect eaves and valleys now. Look for weak spots.
- Grab self-adhering shields rated for extreme cold.
- Call in a certified roofer if DIY feels off.
Winter waits for no one. Shield up today. Wake up to a dry attic, not a disaster zone.
People Also Ask
What is an ice dam shield and why is it essential for Indianapolis roofs?
Ice dam shields, also known as ice and water shields, are self-adhering waterproof membranes installed along roof edges to prevent leaks from ice dams. In Indianapolis, harsh Hoosier winters with heavy snow and freeze-thaw cycles make them crucial to protect against water infiltration that can cause interior damage. Proper installation ensures your roof withstands Indy's brutal weather.
How do you properly install ice dam shields on a roof?
Start by cleaning the roof deck and eaves, then apply the shield from the edge upward, overlapping seams by 3-6 inches for a watertight seal. Use a roller to ensure full adhesion, and extend it at least 3 feet inside from the exterior wall for maximum protection. Professional Indianapolis roofers follow these steps to guarantee longevity against ice dams.
Are ice dam shields the same as ice and water shields?
Yes, ice dam shields and ice and water shields refer to the same product—a rubberized asphalt membrane that seals around nails and bridges gaps. They're designed specifically for vulnerable roof areas in snowy climates like Indianapolis. Choosing high-quality versions ensures superior performance during Indy's winter storms.
What are common mistakes when installing ice dam shields in Indy?
Common errors include insufficient overlap, poor surface prep leading to bubbles, or not extending far enough inland, which allows water to seep under during ice melts. Indianapolis DIYers often skip proper tools like heat guns for cold installs, risking failure. Hiring local pros avoids these pitfalls for a durable shield.
How much does ice dam shield installation cost in Indianapolis?
Costs in Indy typically range from $2 to $5 per square foot, depending on roof size, pitch, and material quality. Factors like accessibility and labor add to the total, but it's a worthwhile investment against ice dam damage claims averaging thousands. Get a free quote from Indianapolis roofing experts for precise pricing.
Indianapolis Roofing provides expert roofing services throughout Indianapolis, IN. With years of hands-on experience, the team handles repairs, replacements, and installations for residential and commercial properties. Deeply rooted in the local community, they address the specific demands of Indiana's climate.
Need Roofing?
Swift roofing repairs and replacements in Indianapolis, IN and nearby areas (46201, 46202, 46204, 46226, 46236) deliver weatherproof protection fast.
Get Roof Quote